Pattii took pictures of the actual eye construction process they use to build the new face part I will end up wearing. There are so many pictures here that I pulled them out of the primary story of the process. Pattii also gave me a book titled "Fundamentals of Facial Prosthetics" that described the process. I used that as a reference in explaining what is going on here.
Here are the pictures in sequence:
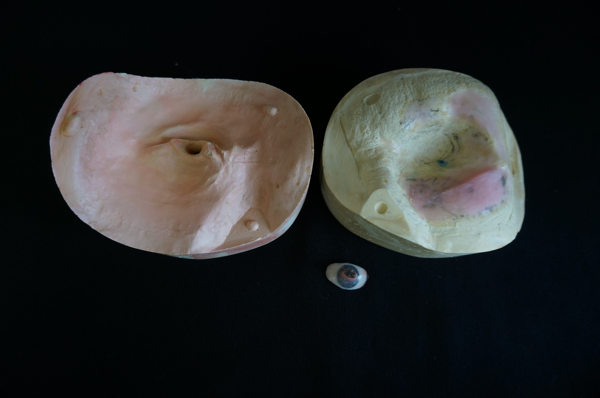
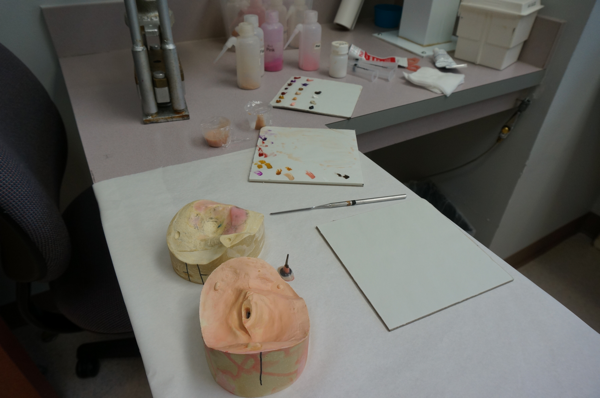
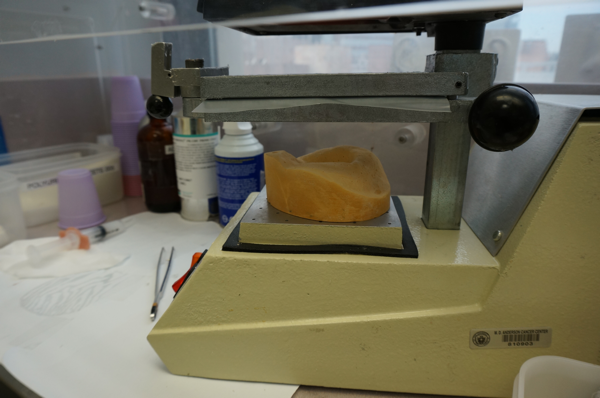
Using the final clay model they painfully worked on during the last few days, they build a plaster mold shell that will be used to build the final mold for the silicon version. They have to build two other molds, one for the front of this clay version, and one for the back.
In this next shot, they have attached a handle onto the acrylic eye so they can eventually pull that piece out of the clay. The handle also serves as an alignment tool that will form a hole in the mold they will use when they place the eye into the final eye mold.
Here is the first pouring of the plaster used to make the front side mold. This shot makes me cringe a bit. They are pouring stuff in my eye! Yikes!
Blink, you fool!
More pouring for the front mold here. They have to fill it up inside the form to build the complete mold.
And, here are the two parts that will be used to build the final silicon face molds.
They have pulled out the acrylic eye piece and cleaned it up for placement in the new face part.
This step is a bit strange looking. They attach a bunch of nylon fishing lines to the back side mold. These will end up creating holes in the front side mold when they build that. The holes will allow a vacuum system to help pull the silicon fully into the important front side mold when they get to that step.
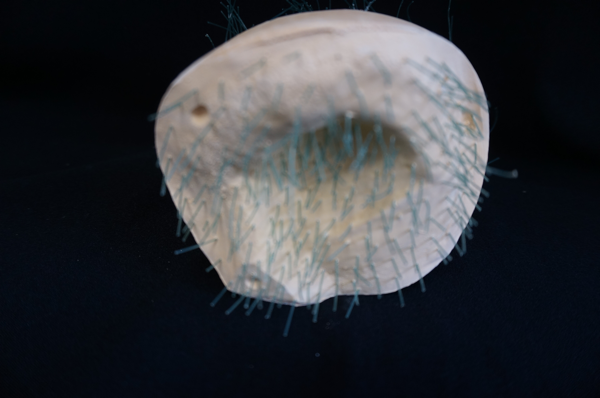
After pouring plaster over this mess, and letting it set up, they pull out the fish lines leaving this part with holes all the way through. This is the back side of the final mold showing the holes.
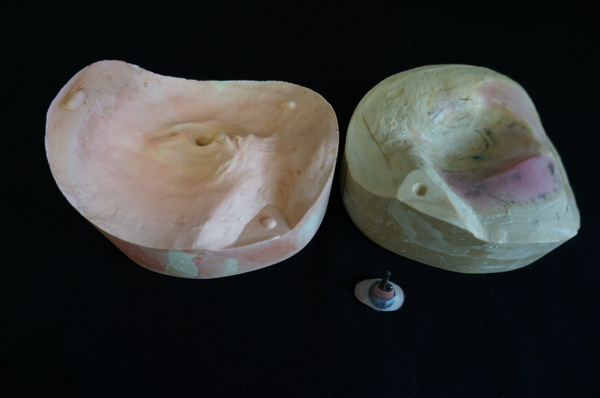
And here are the two mold halves ready for the next step.
Here, Peggy is starting to mix up the silicon for the face part. The pigment work she did yesterday will be incorporated into this mixture.
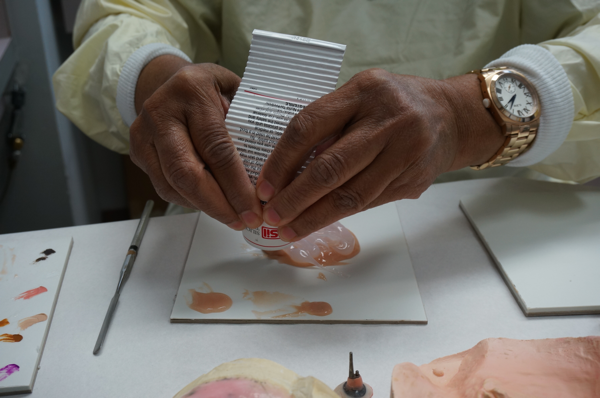
It take a bit of mixing to get everything properly ready for molding. This will end up being the base of my new skin.
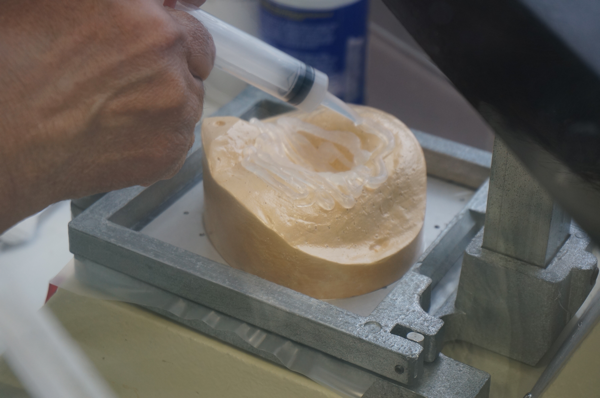
Once it is properly mixed, Peggy sucks it up into a syringe so they can move it to the mold.
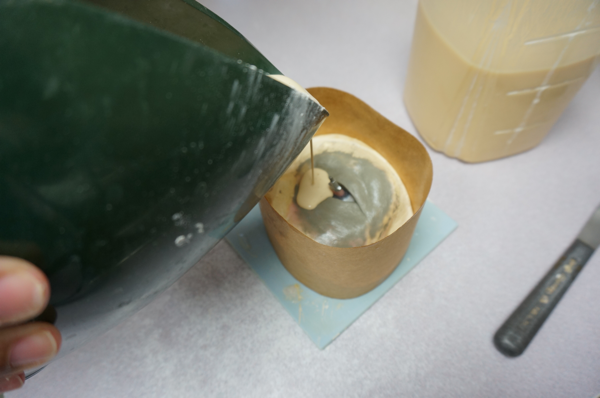
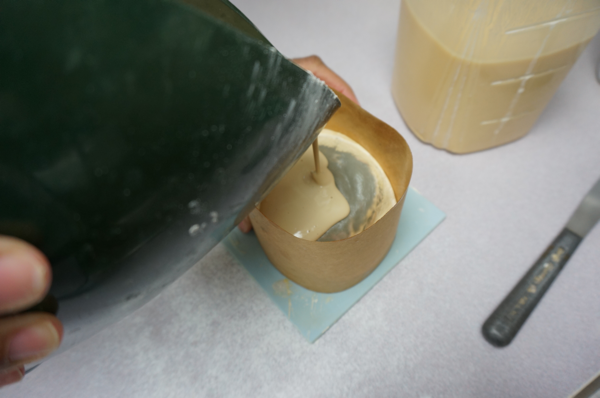
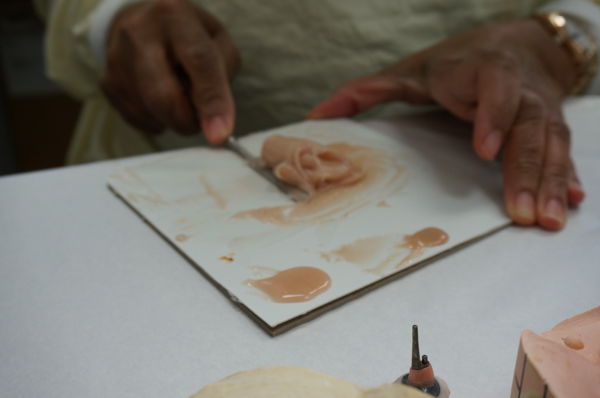
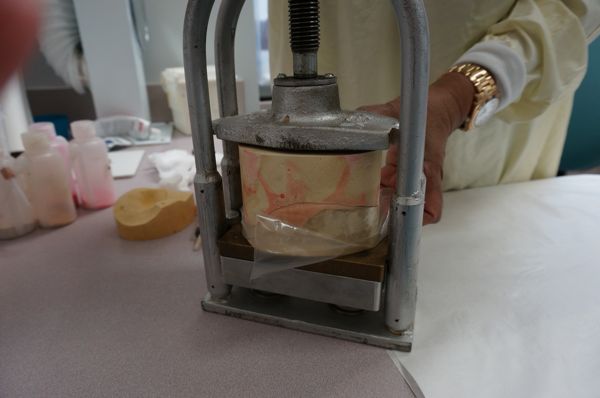
The front side mold is put in a heated press that is used to force all the silicon into every crevice (wrinkle) in the face pattern. They apparently use this to cure parts as they paint them as well.
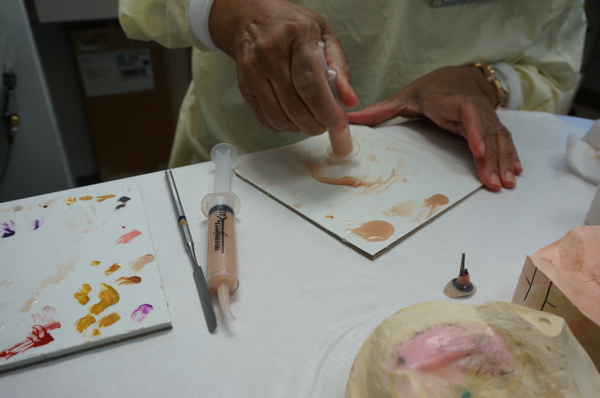
The color on the back side of the face part does not matter, so they use transparent silicon to fill in that part of the new part. Here, Peggy is creating a layer of silicon in the mold.
They spread this out to form part of the final part. Much of this will end up transparent, and will be either trimmed off or painted over to hide the seam between new and old skins.
Next, they cover the silicon with a chunk of plastic sheet (part of the vacuum forming process.
On top of the plastic sheet, they start building up a layer of pigmented silicon that will form the front part of the final eye piece.
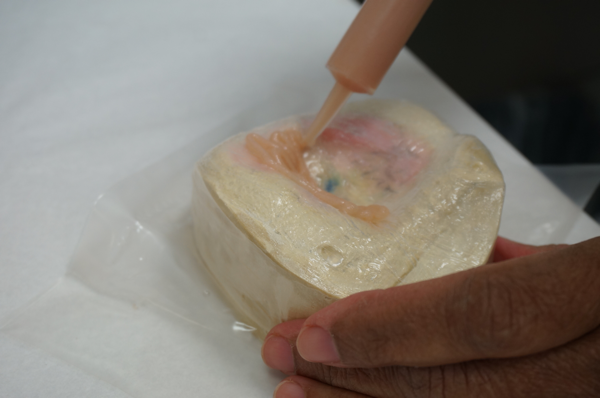
They also set up a layer of the colored silicon on the front side mold.
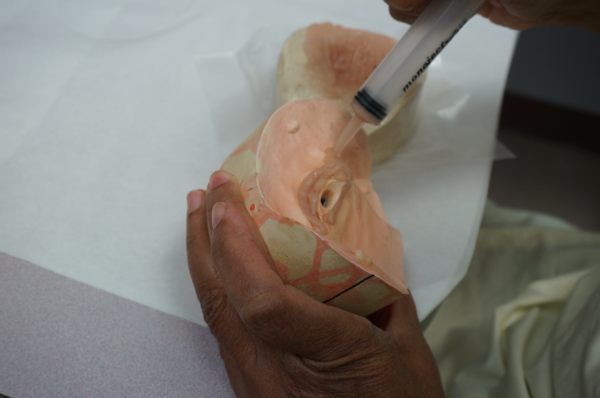
With all of that setup, they place the acrylic eye piece with it's attached stick into place in the mold. The handle make sure this placement is correct.
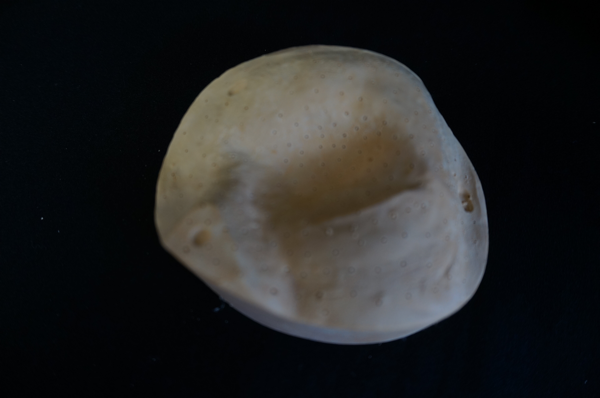
Here is the final front-side mold ready for the next step.
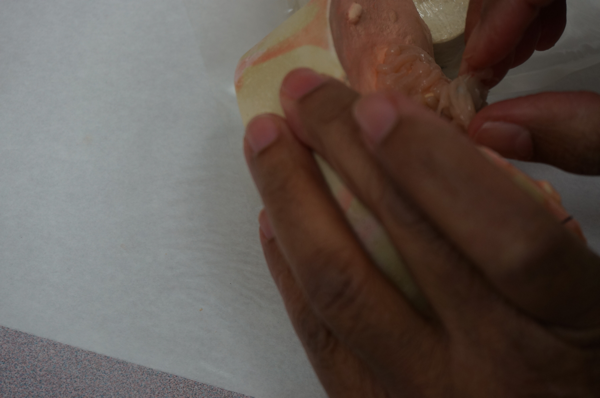
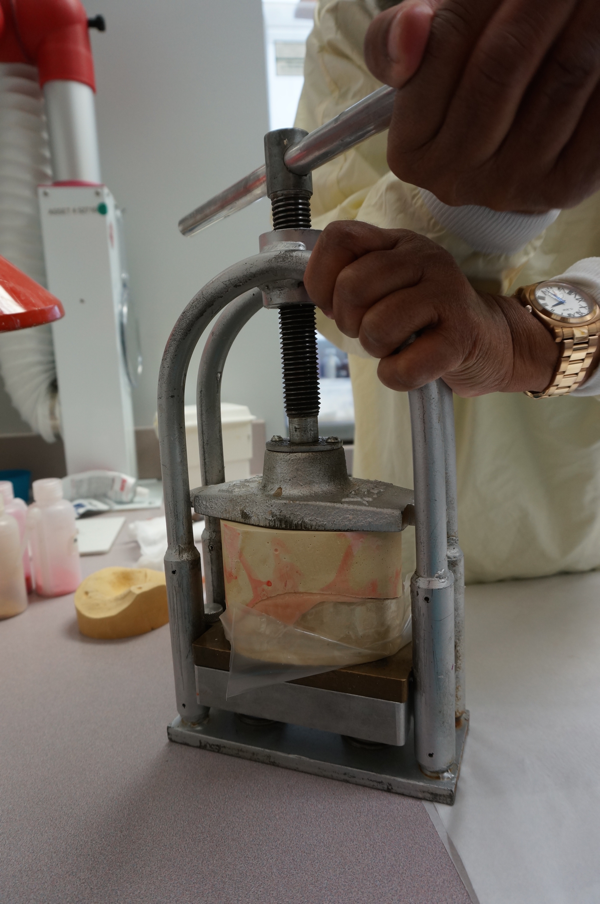
With both front and back side molds ready to go, they put them together.
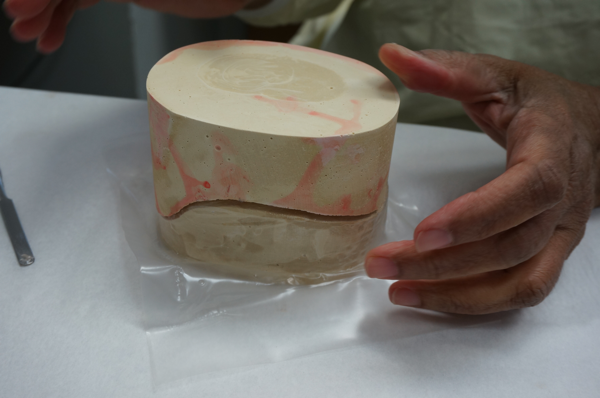
The combined mold is put in a vice like contraption that lets them squeeze the molds together forcing all of the silicon into every part of the molds. Obviously, some of this get squeezed out, but they simply trim that off.
Peggy makes sure this is done right! (More pressure, please!)
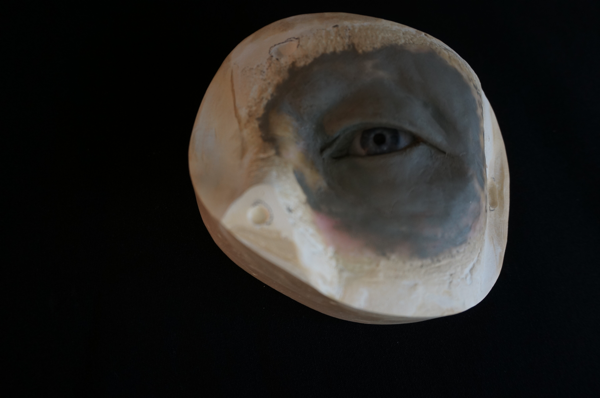
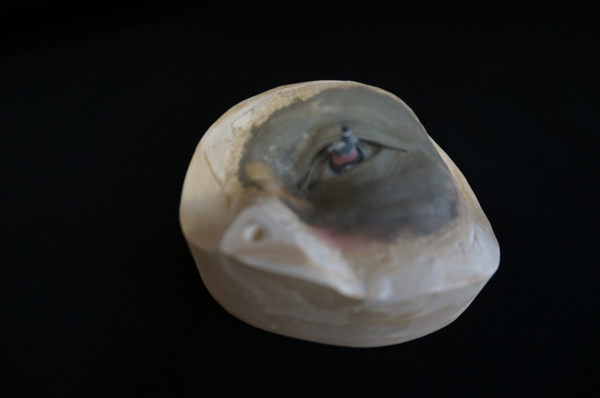
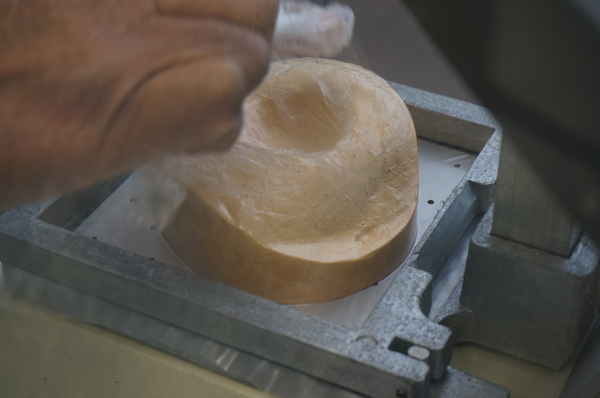
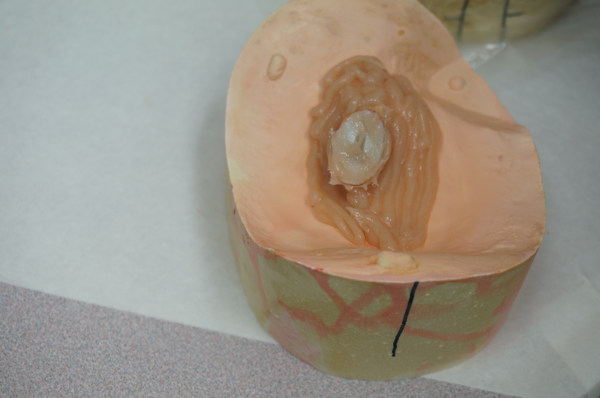
After letting it cure, they pry the mold parts apart, leaving this new face part. (After a bit of cleaning up, or course!)
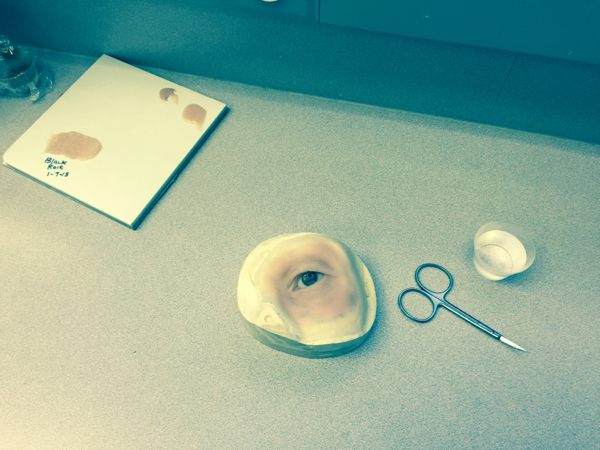
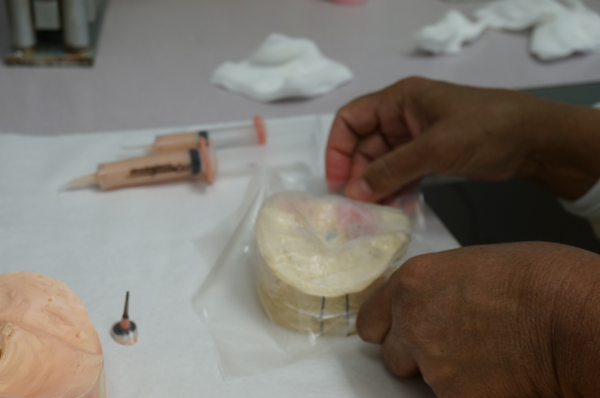
The final phase of this build is described in the previous post. That is where the artist turns this young looking eye part into a much more mature version suitable for a college professor!
Comments
There are no comments yet.