Animating your graphics
After creating your best art work for the refrigerator art project, it is time for something more fun. Let’s try to make something move on the screen.
This is a great way to experiment with loops and decisions in Python!
Creating the window
As usual, we need a window to draw in:
from graphics import *
def main():
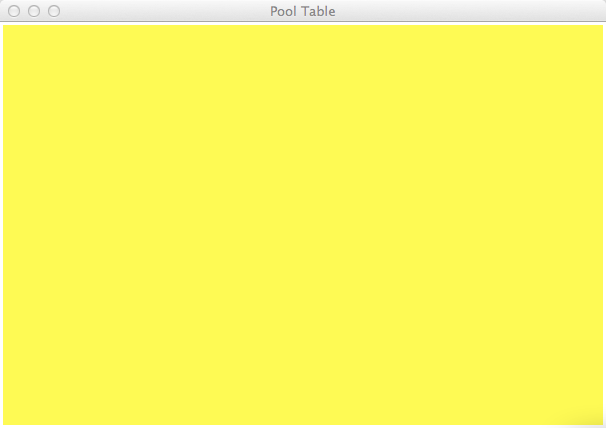
win = GraphWin('Pool Table', 600, 400)
win.setBackground('yellow')
win.getMouse()
main()
The new line, win.setBackground('yellow') makes the entire window
background color yellow, in this case. Remember that objects you draw will
show this background unless you fill them with a color.
Here is what you should see:
Adding a ball
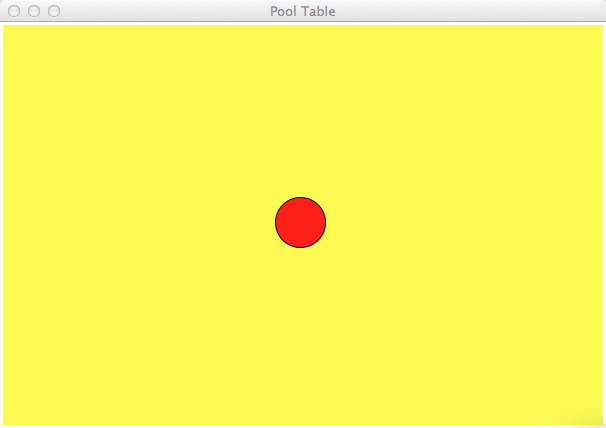
Now, we need a ball, which is just a circle we will place in the middle of the screen. To make finding this spot easier, let’s use a few constants in this modification
from graphics import *

WIDTH = 600
HEIGHT = 400
RADIUS = 25

def main():
    win = GraphWin('Pool Table', WIDTH, HEIGHT)
    win.setBackground('yellow')

    ball = Circle(Point(WIDTH/2, HEIGHT/2), RADIUS)
    ball.setFill('red')
    ball.draw(win)

    win.getMouse()

main()
In this example, we have put a call to the Point function inside the call
to the Circle function. We could have used a variable to do this, but this
saves a bit of typing and works just fine. It is important that you understand
how this works.
The Circle function expects a Point variable as its first parameter. In
previous examples, we called the Point function and saved the result in a
variable. By placing the call to Point in the parameter list for Circle,
the value returned by ``Point is simply passed directly into the Circle
function. That last value, 25, is the radius of the circle we want to draw.
Phew!
Here is what we get now:
Moving the ball
Now for the fun part, making the ball move is incredibly easy, thanks to the
smart design of the graphics code. We have a method available for each
object we create (like the ball) that makes it move! Here is the code:
from graphics import *
import time

WIDTH = 600
HEIGHT = 400
RADIUS = 25

def main():
    win = GraphWin('Pool Table', WIDTH, HEIGHT)
    #win.yUp()
    win.setBackground('yellow')

    ball = Circle(Point(WIDTH/2, HEIGHT/2), RADIUS)
    ball.setFill('red')
    ball.draw(win)

    win.getMouse()
    for i in range(50):
        ball.move(3,0)
        time.sleep(0.05)

    win.getMouse()

main()
Look closely at this code. We are using a new library here, called time.
This library has one important function in it, one that will effectively puts
your program to “sleep” for a short period of time. In this example, we are
asking the program to sleep for one half of a second every time we move the
ball.
Note
I have placed a call to the win.getMouse() function to stop the
program just before the loop. You will need to click once to start the
motion, and again to end the program.
Running this will make the ball slide across the screen. Cool!
Look closely at what we just did. We set up a counted loop using the for
loop statement. We set up a simple variable named i whose sole purpose is
to keep track of how many times we have run through the loop. Inside the body
of the loop, we simply called the move method that the ball knows about
and asked it to move a small distance in the X,Y direction. Since we set
the Y amount to zero, the ball slides to the right. When the loops ends,
the movement stops.
This use of the for loop is fine when you know that you want to stop
looping at some point. There are times when we do not know when we want to
stop. We will get to that soon!
Moving at an angle
Let’s add in a few more constants to make this a bit easier:
from graphics import *
import time

WIDTH = 600
HEIGHT = 400
RADIUS = 25
DX = 3
DY = 3
SPEED = 1/20

def main():
    win = GraphWin('Pool Table', WIDTH, HEIGHT)
    win.setBackground('yellow')

    ball = Circle(Point(WIDTH/2, HEIGHT/2), RADIUS)
    ball.setFill('red')
    ball.draw(win)

    win.getMouse()  # click the mouse to continue

    for i in range(50):
        ball.move(DX,DY)
        time.sleep(SPEED)

    win.getMouse()  # click the mouse to end the program

main()
This time we have set up constants for the amount in the X and Y direction we
want the ball to move each time we pass through the loop (DX and DY).
The delay at the end is controlled by the SPEED constant.
Now, the ball moves at an angle toward the bottom right of the screen. Playing
with those DX and DY values will make it move at other angles. Try it
and see!
Boing!
Suppose this ball is a model of a real pool ball, and the window we are drawing in is the pool table. As the ball moves to the right, eventually it will hits the edge of the window. What should happen? Well to figure this out, we need to figure out two things
Have we hit the wall yet?
This one is harder than it should be, but makes sense after a bit of thinking.
Remember that we are working with those funny object critters in all this.
The Circle object has a method that will tell you where the center
currently is. If we call that method, getCenter(), we will get back another
object which is one of those Point objects. The Point object can
tell you where it is using the getX() and getY() methods. Sounds
complicated, but it is not so bad. Here is the code we need:
center = ball.getCenter()
current_x = center.getX()
current_y = center.getY()
See, it was not so bad! It does help to study the reference material for the graphics module. Here is the PDF file:
The Circle object we have created has another object at the center, a
Point. The Circle object knows how to tell you where the center is. If
we call the getCenter() method, it will return a Point that is at the
current center of the Circle. We can call the getX() method to fetch the actual coordinate value.
What do we do to “bounce”?
This one is simple, we move away from the wall. If moving toward the wall was
done by setting DX to a positive value, all we need to do is make it
negative. Try this:
if current_x >= WIDTH - RADIUS:
    DX = -DX
Warning
Remember our discussion on global and local variables. If we ask Python to
use this line inside a function (like main in this case), Python will create
a new local variable with the same name as the global variable we
really want it to use. The cure for this is to add this line inside main
(after the “def” line):
global DX, DY
This tells Python that the names DX and DY we want to use in this
function are the global ones.